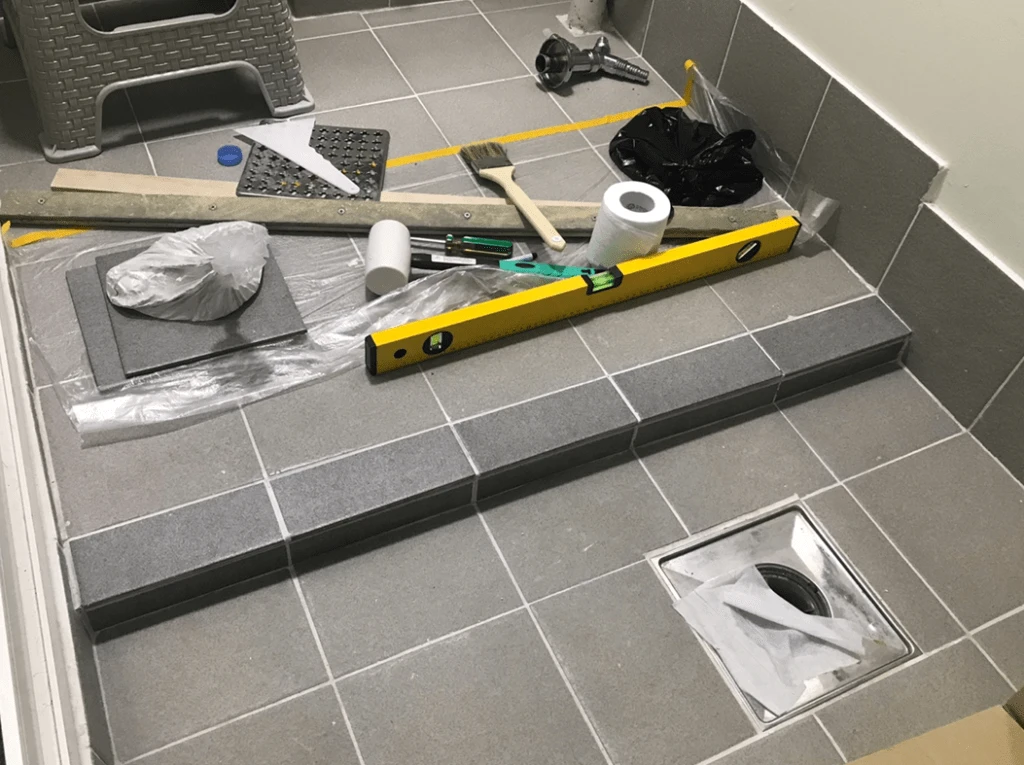
Expanding the Washing Machine Platform on the Balcony, Day 2
So, after applying the cement mortar and cleaning up, I waited for three days. Now I have to attach the tiles.. No... But... it turned out the tile on the far l
GGAMI·
So, after applying the cement mortar and cleaning up, I waited for three days.
No... But... it turned out the tile on the far left wasn't 200.
It had been cut down a little. I had to cut about 7.5 mm off.
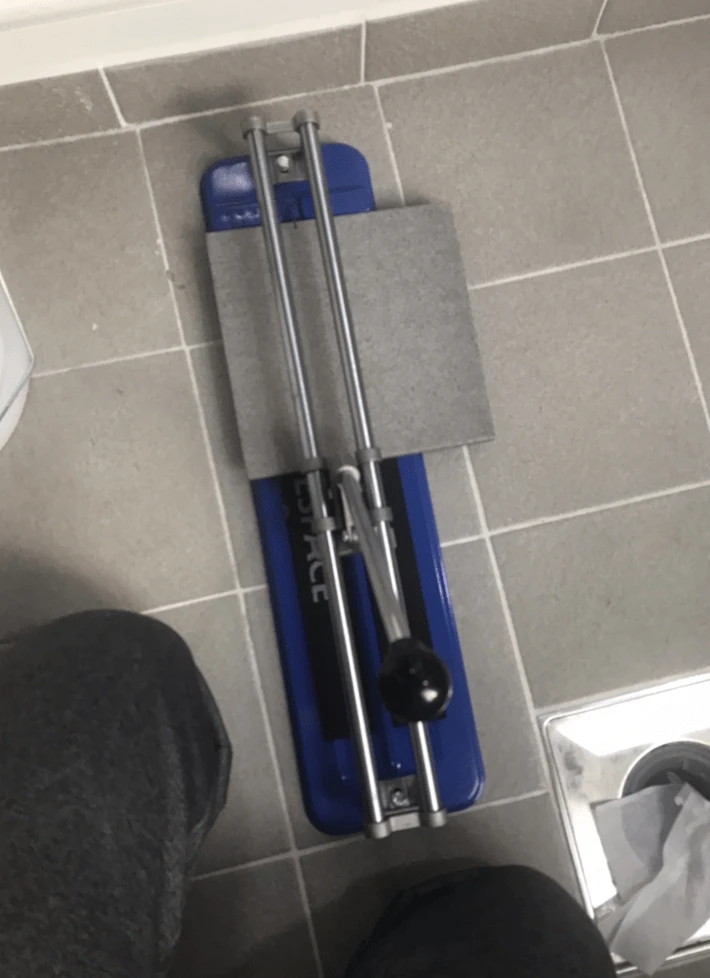
But no matter how much I tried with the tile cutter, it wouldn't cut !! Why on earth!! The tile just kept breaking..
I thought I might have to buy a grinder and a diamond saw...
Then.... I decided to give it one more try, and when I pressed really hard with the tile cutter, it cut !!!
Whew... I almost spent more money.
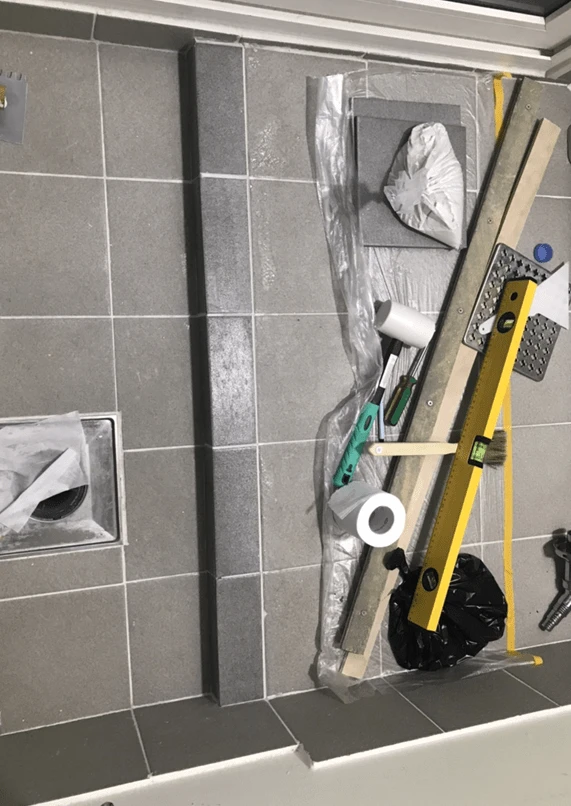
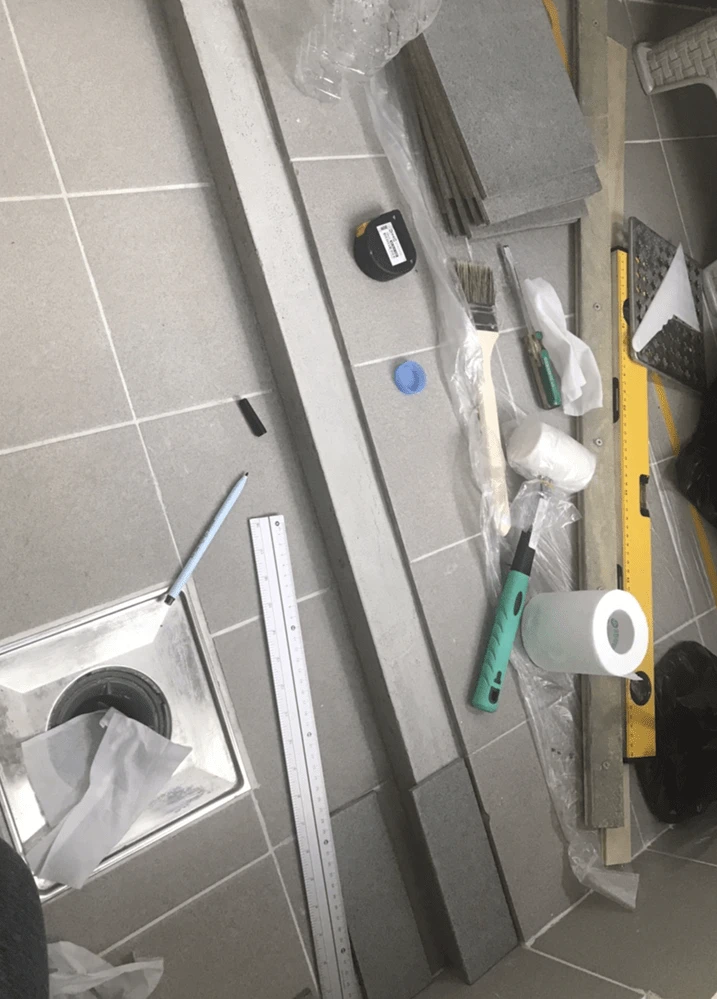
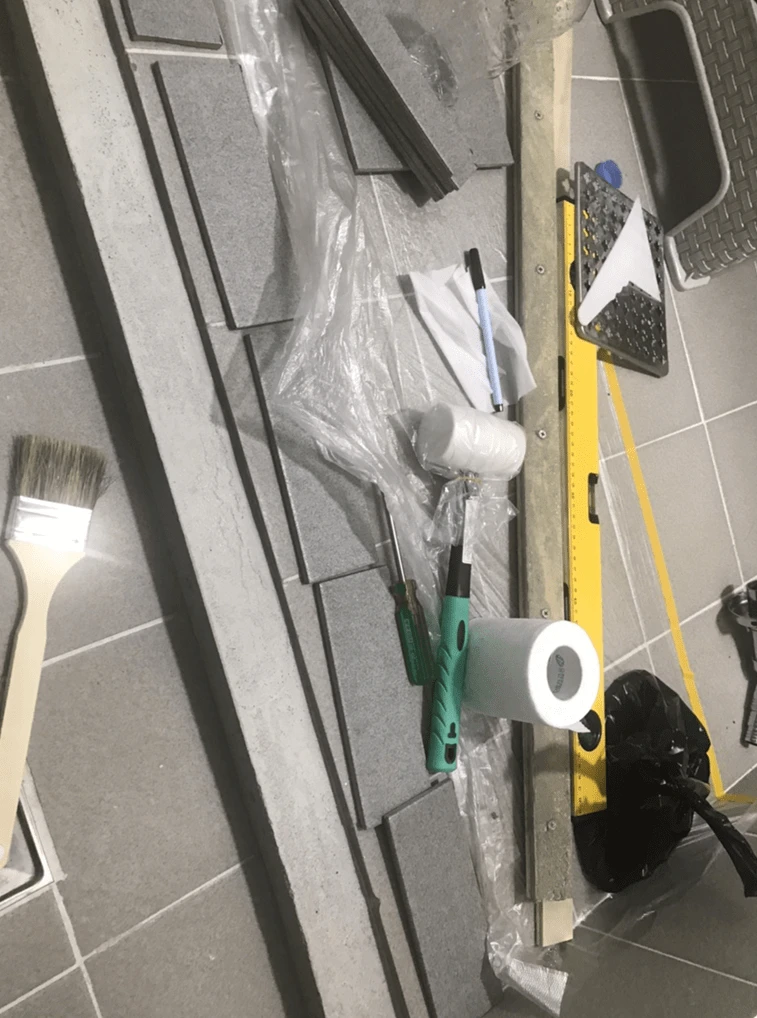
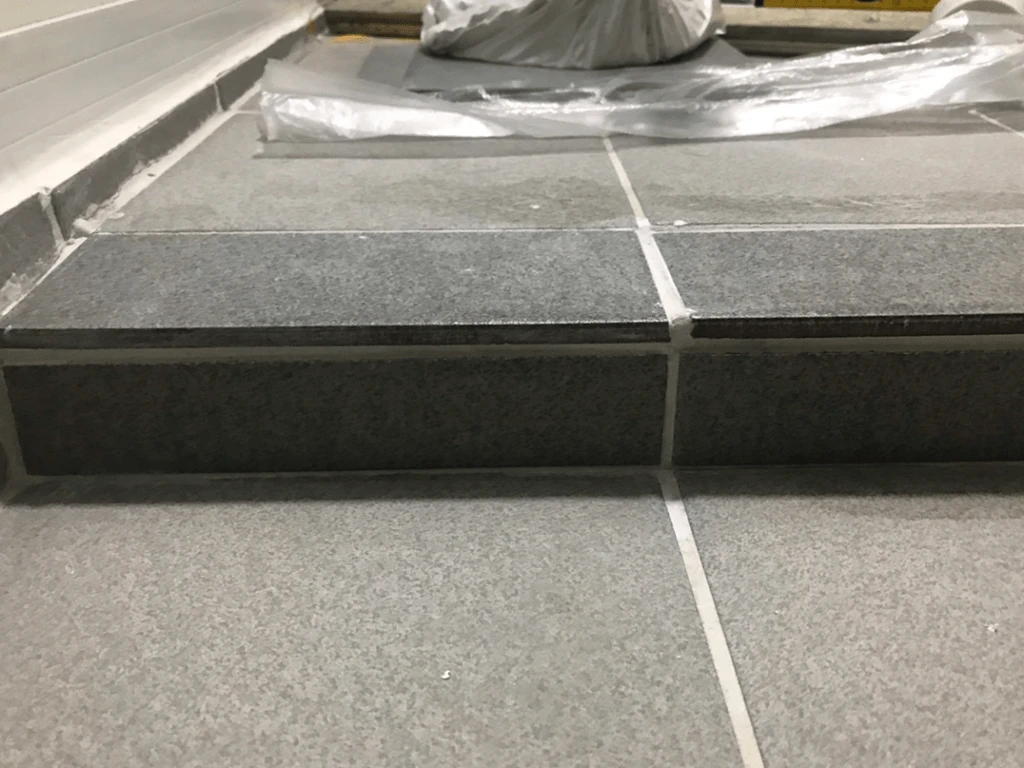
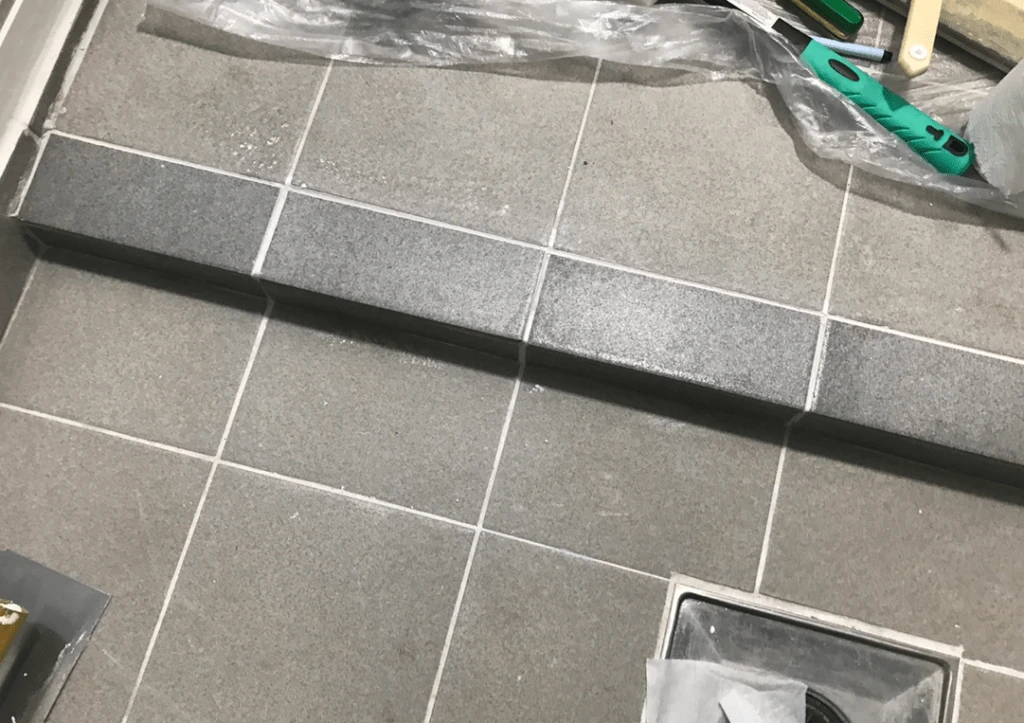
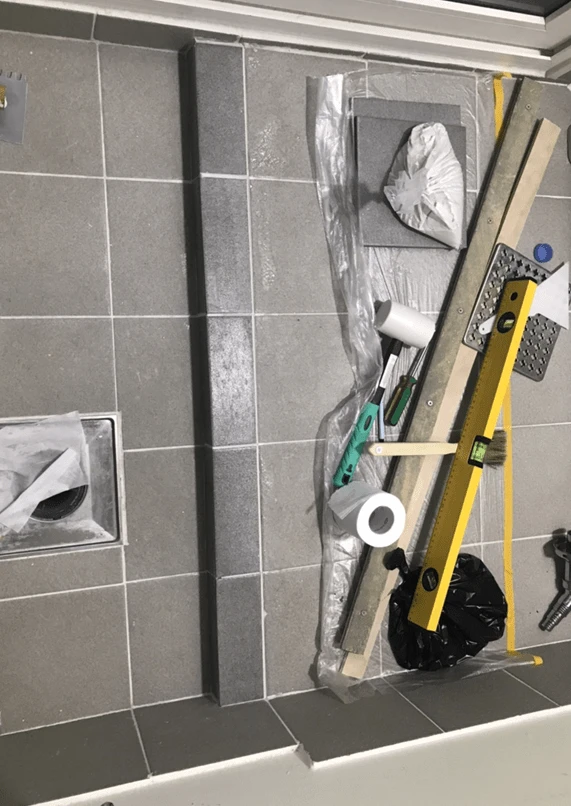
Anyway, I cut the top tile to 7 cm and the bottom floor tile to 3.5 cm.
I mixed the Dryfix with water, stirring it with a trowel.
This was actually harder than the cement mortar, to start with. There wasn't really any need to level it (?) I just did my best to align it by hand. But since the area to apply it to was so small, controlling the amount and keeping it off the surrounding area was the hardest part.
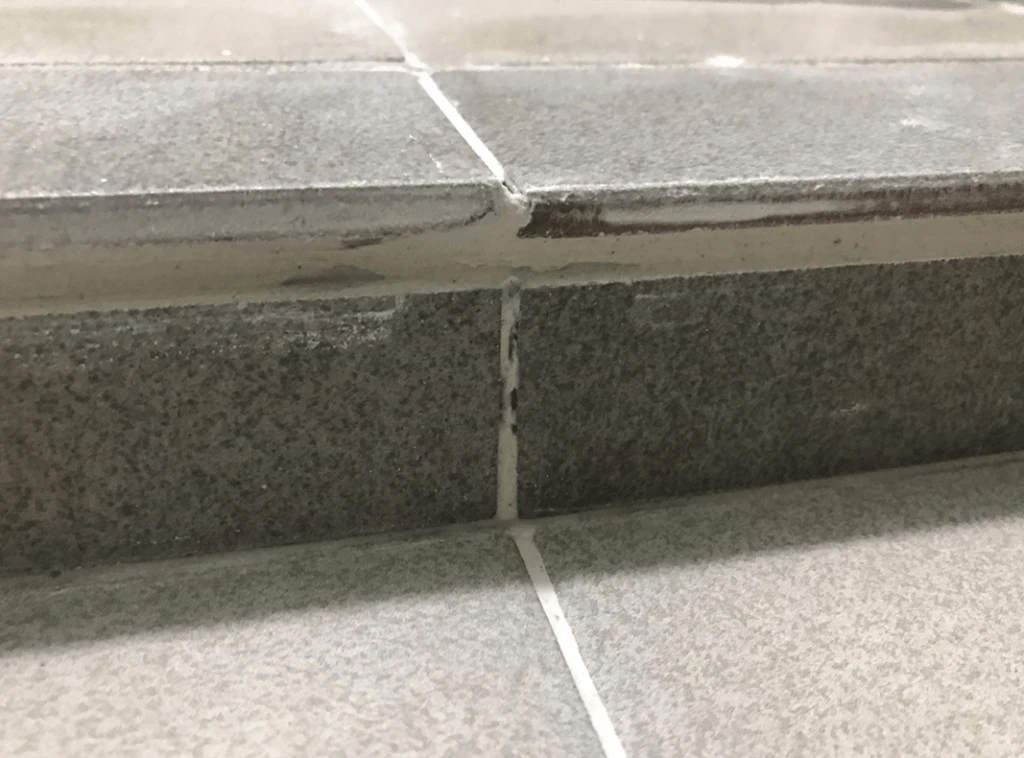
Ah... looking at it now.. I should have made the floor tile 4 cm, not 3.5 cm. I made it 3.5 cm so I could raise it a little with Dryfix underneath and create a grout line, but this really wasn't easy.
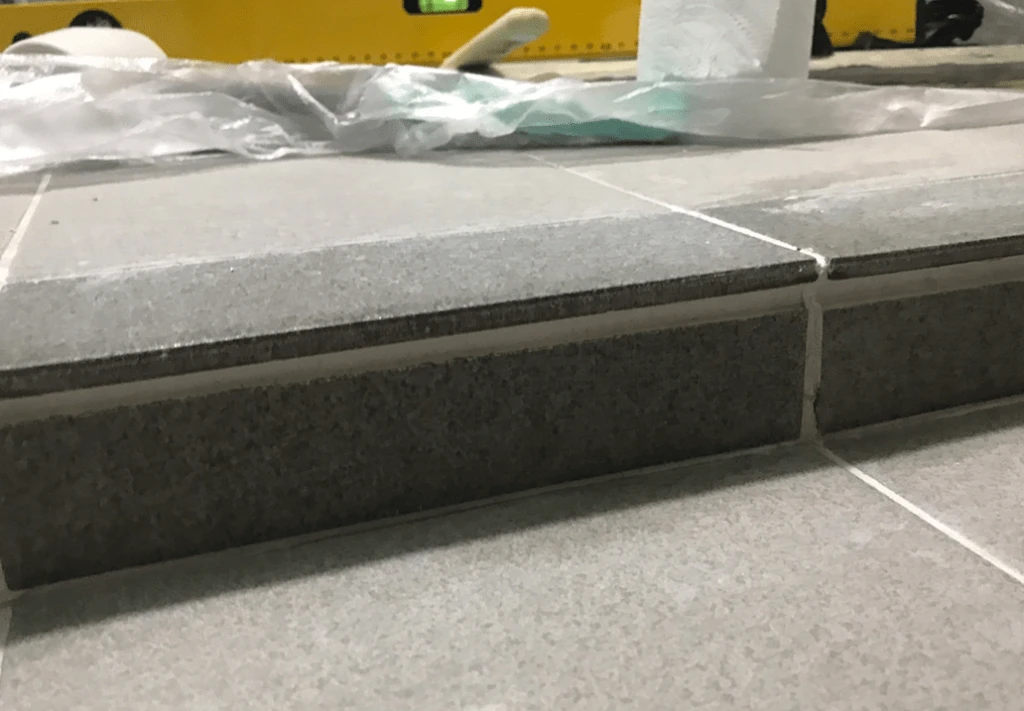
I used Dryfix to get the level and height as close as possible, applied a good amount, pressed and rubbed it firmly so it would stick well to the back of the tile.. then tapped it with a rubber mallet to adjust its position and depth.
And then... I was supposed to grout it...
I have so many regrets.
They sell products that work as both adhesive and grout. (You really should buy that one... Seriously... It's so annoying.)
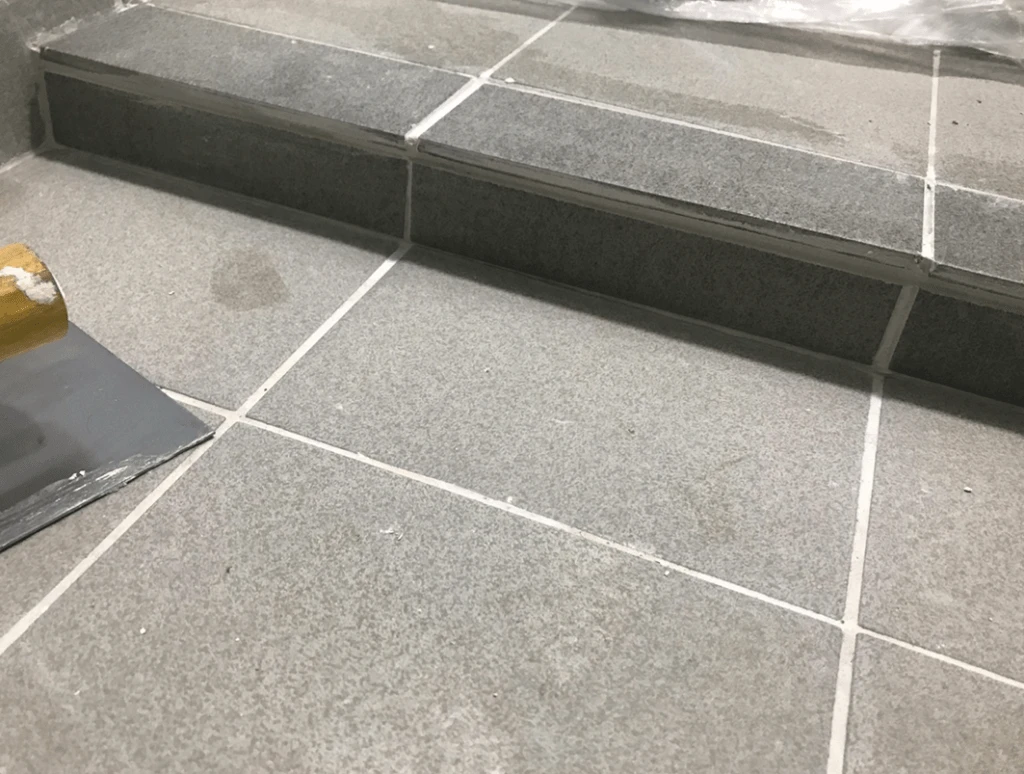
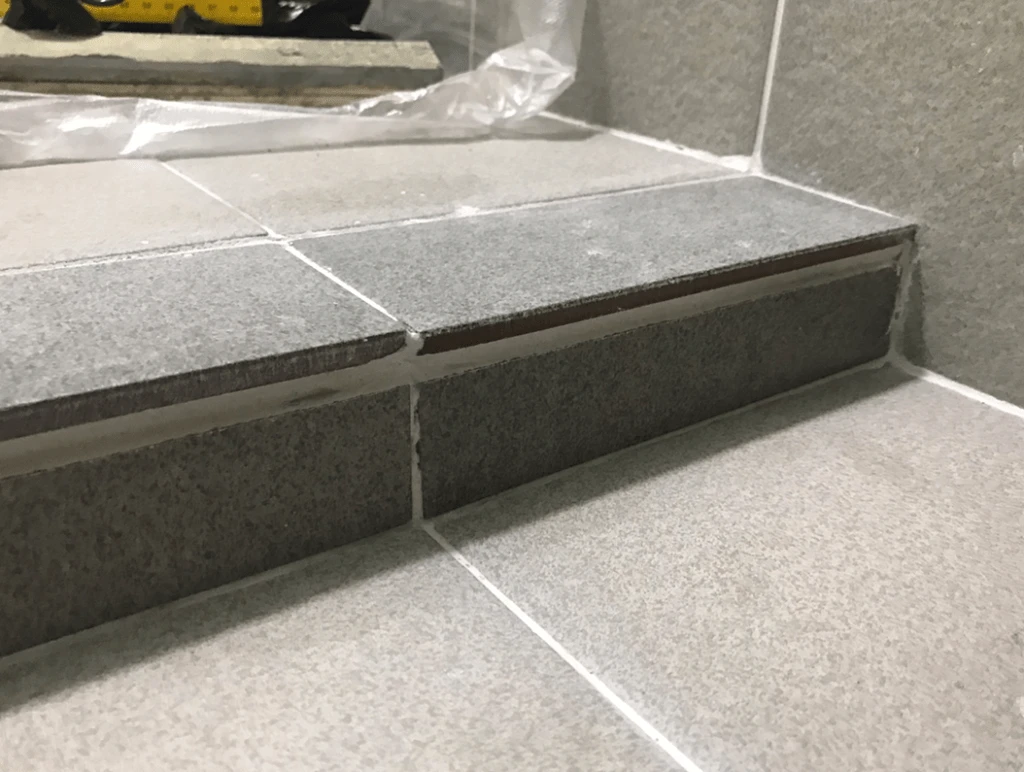
So, in the end, I cleaned everything well and filled the gaps with as much Dryfix as possible...
Then I carved out grooves with a Phillips screwdriver..
And so... I carved out the grooves too (though they don't really seem very deep, so I should've just bought the one that works as both adhesive and grout.. I should've taken care of it all in one go ㅡㅡ)
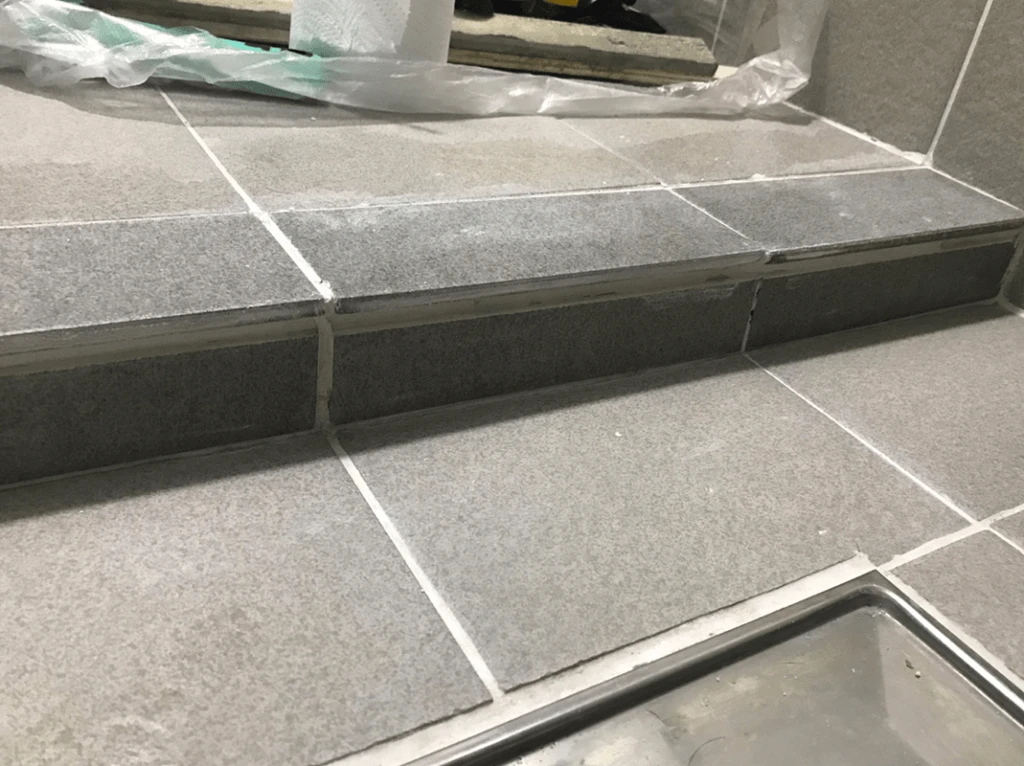
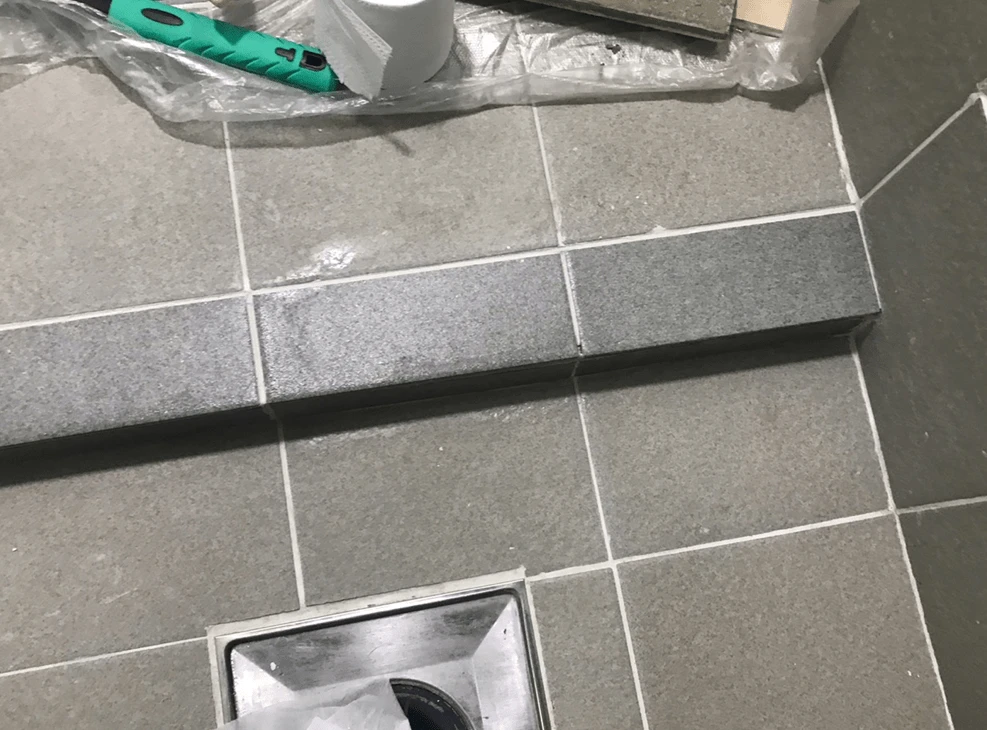
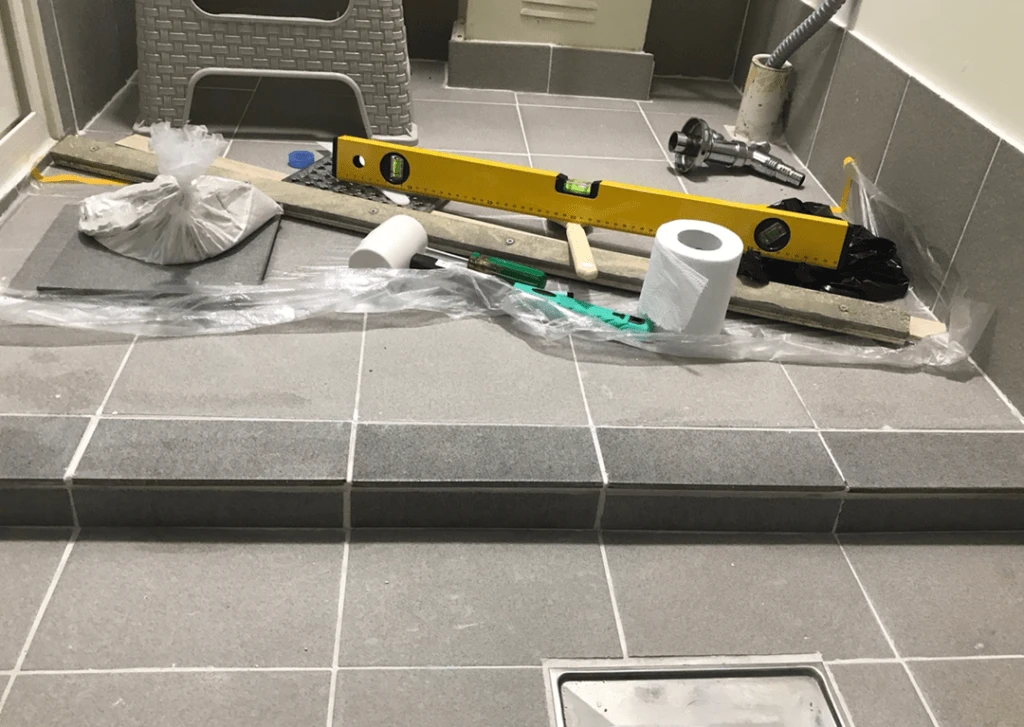
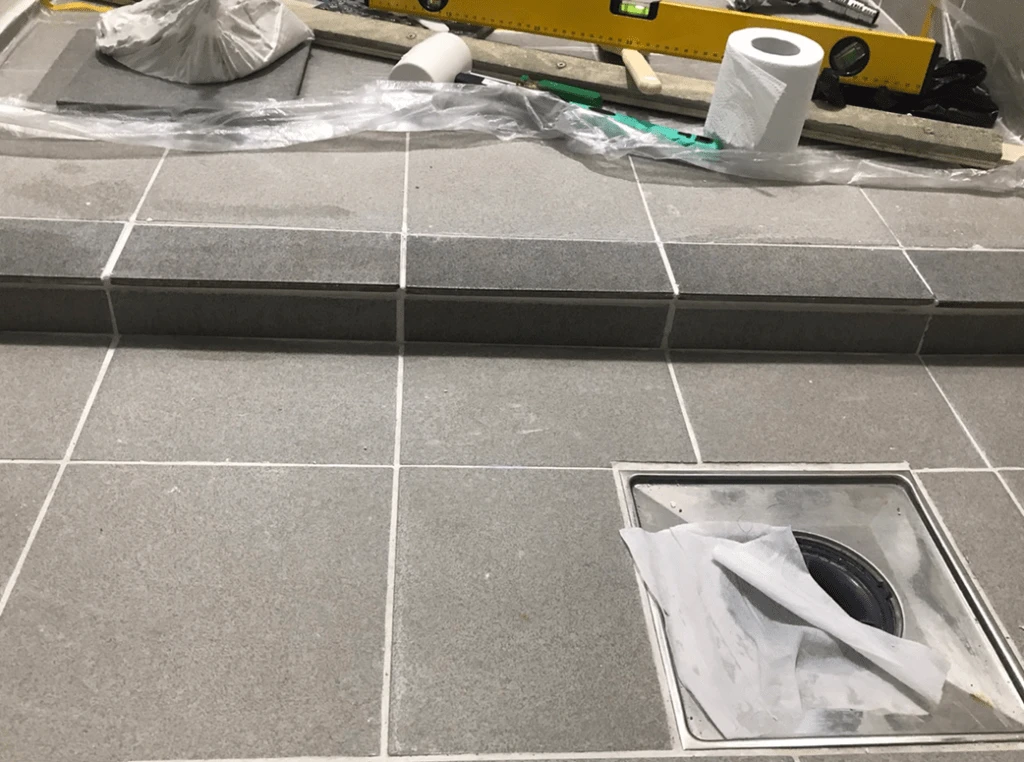
And that's how I got the tiles attached...
I think it took about 4 hours from cutting the tiles to attaching them.
Tomorrow I'll clean it once more and do the grouting, and once that's done, it'll be over. That's the finishing touch. There's nothing else to do; I just have to let it dry.
The problem here is that it isn't level with the existing tiles.
Actually, the new tile section is supposed to be a little lower to create a slope for drainage. But when I put the level on it, it seems like the slope turned out much steeper than I expected (?) I should have made it just 2 mm higher... I should have used more Dryfix... When you tap it with the rubber mallet, it gets pushed in, so... I think it ended up a little lower. ㅠㅠ
I should have made the bottom floor tile 4 cm, not 3.5 cm. Otherwise, I think I should have first laid a little more Dryfix on the floor to position the tile a bit higher.
But... well, this part isn't really very noticeable, so I think it might be okay.
What I kept thinking as I worked on this was...
Why on earth am I doing this?
Why am I doing this?
That was it.
I should've just called a professional instead.
Anyway, since I've already started. The worst-case scenario is that even after extending the washing machine platform, I won't be able to put the washing machine and dryer on it. I really don't think that'll happen. It's now 5 cm farther out than the existing boiler, and I've extended the washing machine platform by 7 cm, so...
Finally, after grouting tomorrow... I'll wrap up all my posts about extending the washing machine platform.